Some say that a clean windshield is simply a washed windshield. And it may be hard to deny that, but as it happens in detailing, the devil is in the details and some activities only seemingly appear to be simple. Preparation of the windshields requires certain konwledge and proper products. Skipping this step will complicate the application of Glaco and affect the durability of the coating. We’ve come up with a handy list of do’s and don’ts.
The glass is smooth, but only to the touch
First, some necessary theory. Although glass seems to be completely smooth, it in fact has a porous structure. It’s essentially hundreds of thousands of micro-cavities. After few years, these pores are filled with everything that the glass has to deal with: greasy road film, dust, tree sap or remains of old coatings and screen wash. Using a glass cleaner or a shampoo removes dirt only on the surface level and the rest still remains in the glass’ structure. What should you do then?
1. Remove loose dirt
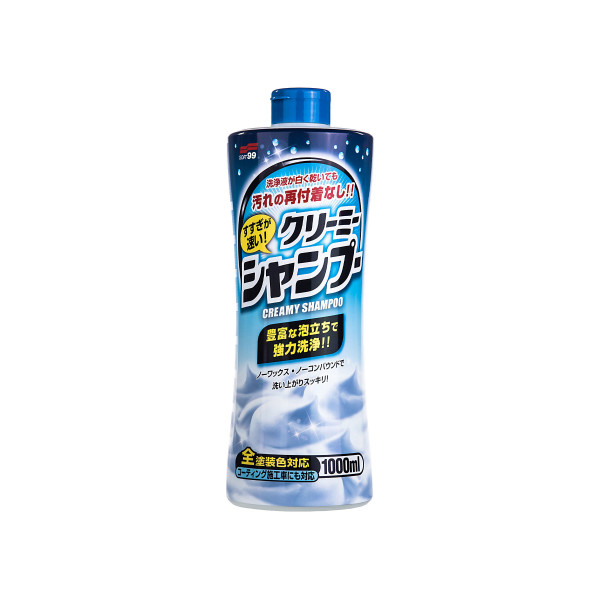
A shampoo wash is necessary to get rid of the top layer of dirt such as sand and other particles that could scratch the glass in further steps. Clean your glass well, just like you would wash the paintwork, then rinse all foam and residues with a pressure washer.
NOTE: Leave the glass wet. A little water will be useful in the next step!
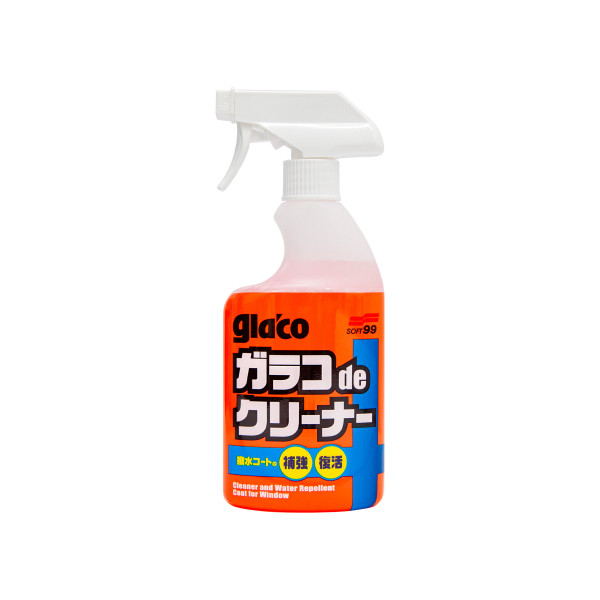
2. Use a specialised glass cleaner
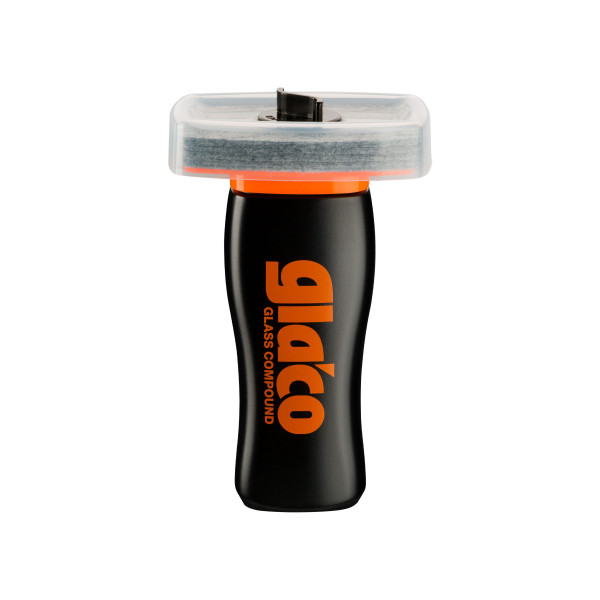
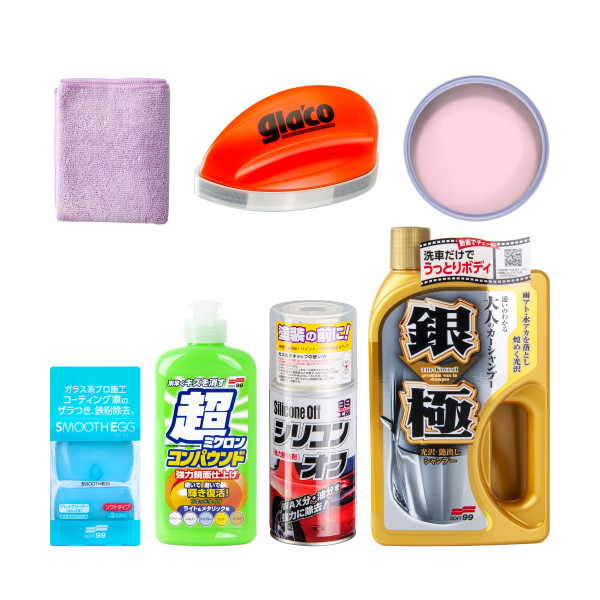
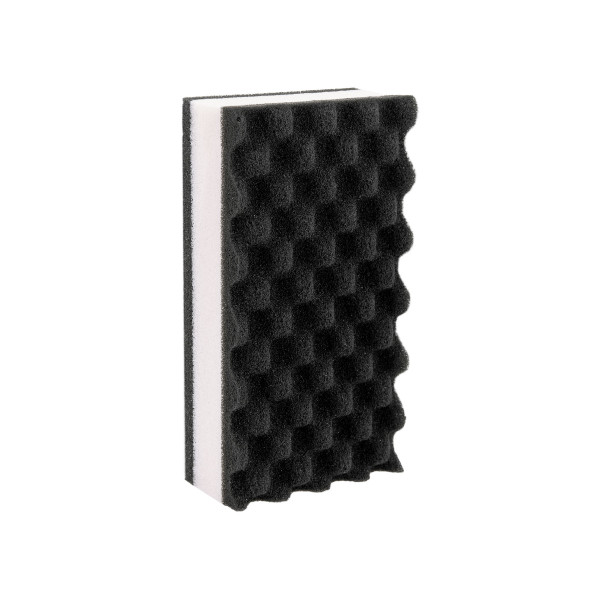
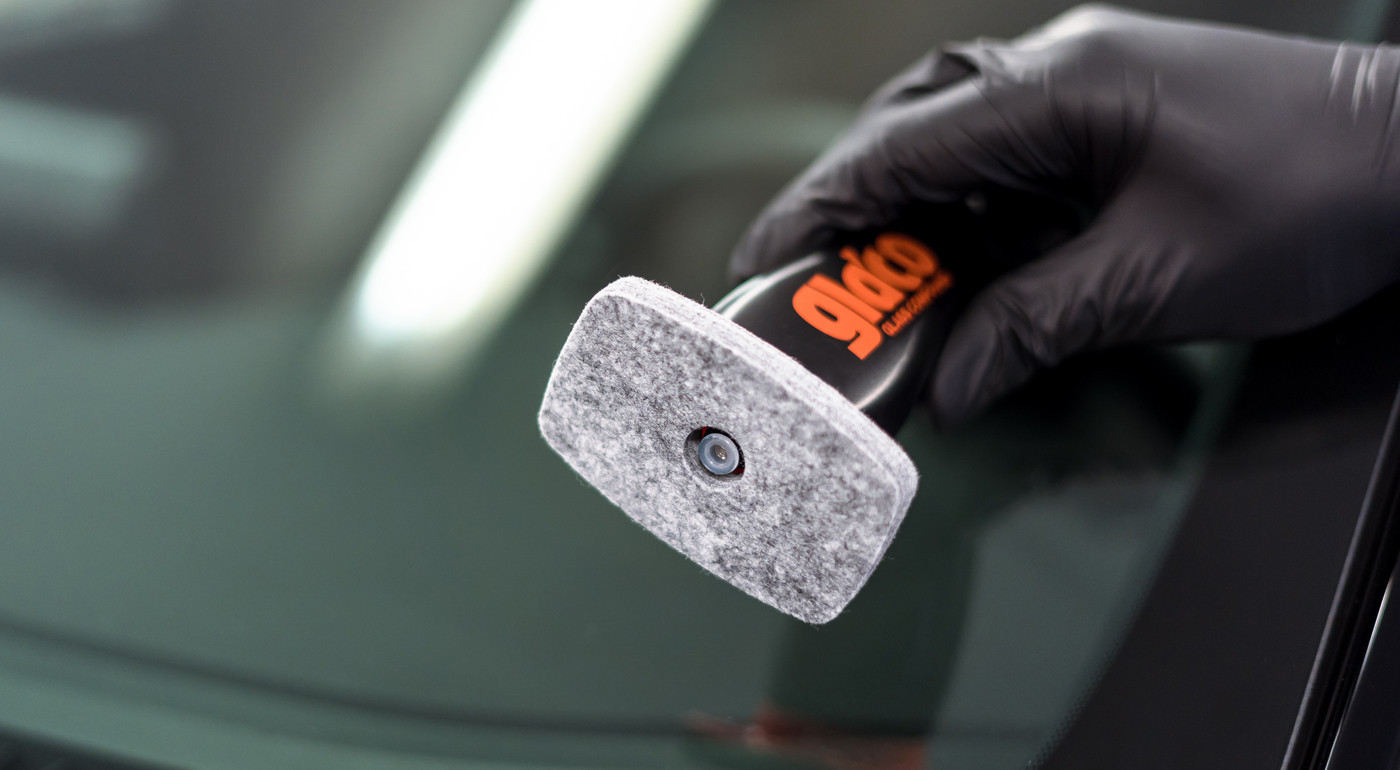
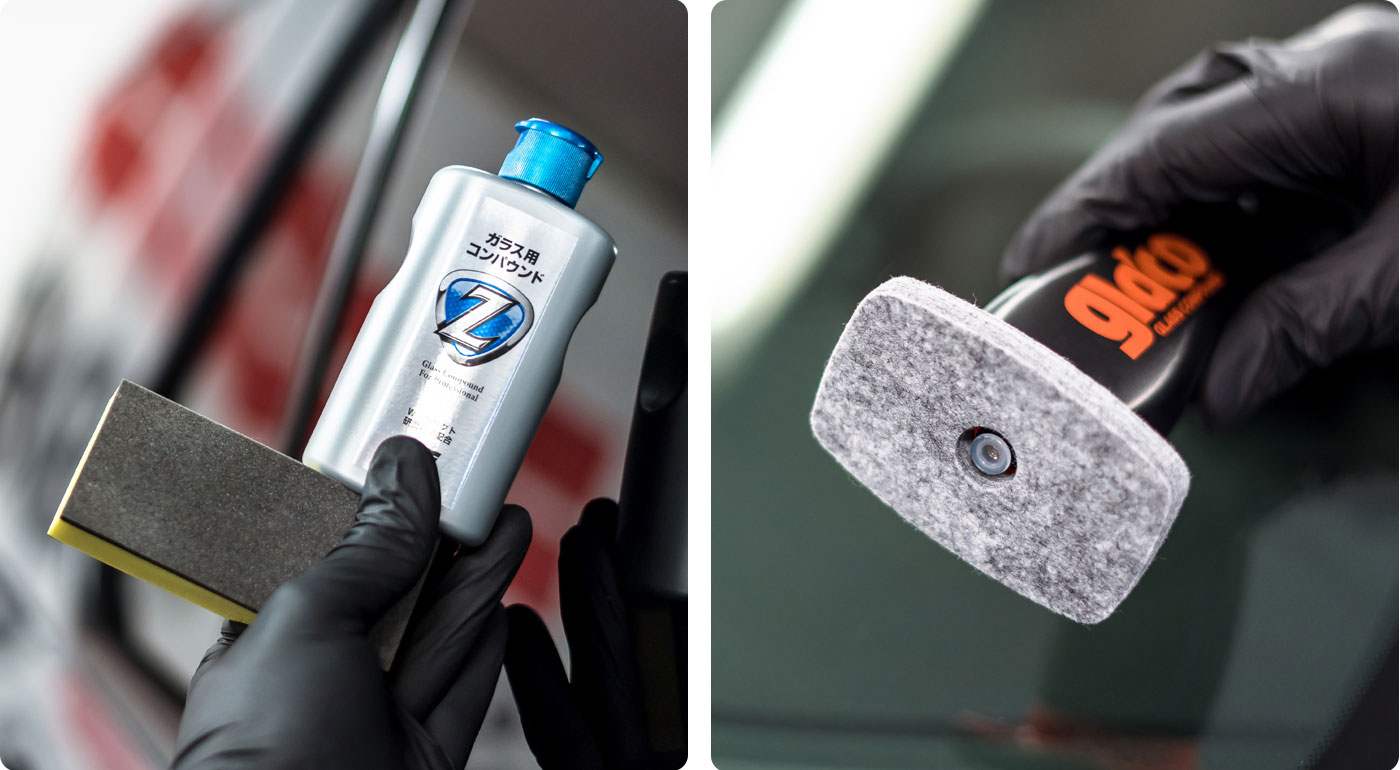
You have two solutions to choose from: Glaco Compound Roll On or Glass Compound Z. The diffrence is the applicator. Roll On has an integrated applicator made of felt, while Compound Z has a separate sponge applicator. The only significant difference is that with Compound Z’s sponge applicator you’ll be able to reach tighter places and work more easily on highly curved windshields, i.e. on planes.
.jpg)
3. Strike a balance when working
Both products contain abrasive particles so you will need some force to fully utilize their power. At the same time, work carefully and press the applicator gently against the surface of the glass. Circular or longitudinal movements are recommended. The moisture left over after washing wll now give extra slip and delay the drying of the product. How long should you apply the product? Best practice is to work until you notice that the product is no longer „breaking up” on the glass, but rather forms an even layer each time you move the applicator across the window.
4. Don’t wait to remove residues
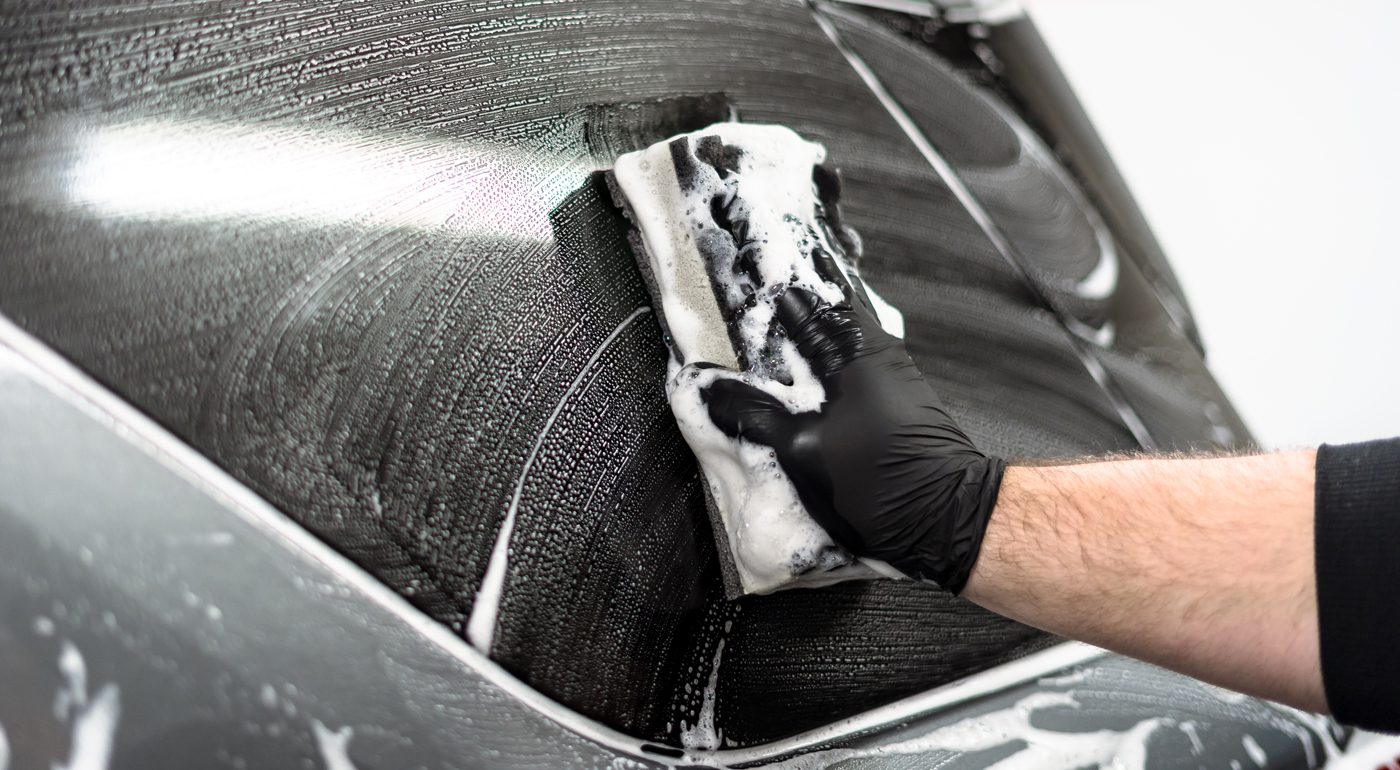
Do not let the product to dry out completely. Remove all residues with a pressure washer. If the pressure is not enough, you can try scrubbing stubborn residues with your hand or a clean microfiber. Make sure that the compound did not stain neighbouring parts.

5. Dry the glass and you’re done!
The last step is a mere formality. Dry the glass thoroughly with an absorbent microfiber. Now you can be sure that the glass is thoroughly cleaned and that Glaco will bind to it with maximum power. There is no need to degrease the glass with alcohols or other products! Our Glass Compounds have already done their job.